

Creating Your First Item
This article is a step-by-step guide on how to create your first item.
Before we start, please know that you can always email us the artwork file and let us know which blank tee you'd like and we can help create the item for you.
1- Click "Add New Item"
Click the "Add New Item" link in your NeatoPOD dashboard sidebar.

2 - Select the Garment
Click on the garment that you'd like. In this example, let's click on "Midweight Tee" (Fruit of the Loom 3930R) to select the standard midweight Fruit of the Loom 3930R T-Shirt.

3 - Fill out the Form
For the Item Name, let's put in "NeatoBot - FotL3930R".
A good rule of thumb is to use "Artwork - Garment" as the item name. This will be useful later on, if you want to print the same art file on other types of garments.
Select the colors that you want. You can enable all of the colors, or just some of them. Then select the default color - in this case, let's choose "Black" as the default color.

4 - Select the Print Method
Some garments have multiple printing methods available. In this case, the standard midweight FotL 3930R T-shirt can be printed with Direct to Garment (DTG) or Flex Digital Print.
Let's go ahead and select DTG.

5 - Select the Print Locations
You can print on the front side of the shirt, the back side, or both.
Let's print on just the front side right now.

6 - Upload New Art File
As this is your first item, you'd need to upload a new art file. Later on, you can re-use the art file to create another item.
Each printing method has its own art file requirements. The requirements for DTG are listed above.
Note: While we can work with various sizes of high-resolution artwork, it's best to make sure that the artwork dimensions fit exactly to the template. In case of DTG, it's 3,600 pixels by 4,800 pixels (or 12 inch wide by 16 inch tall at 300 dpi). If the artwork dimension is a different size, the mock up generated may look off.
Let's click the "Upload New Art File" button and select the art file from your computer.
See also:
7 - Name the Front Art File
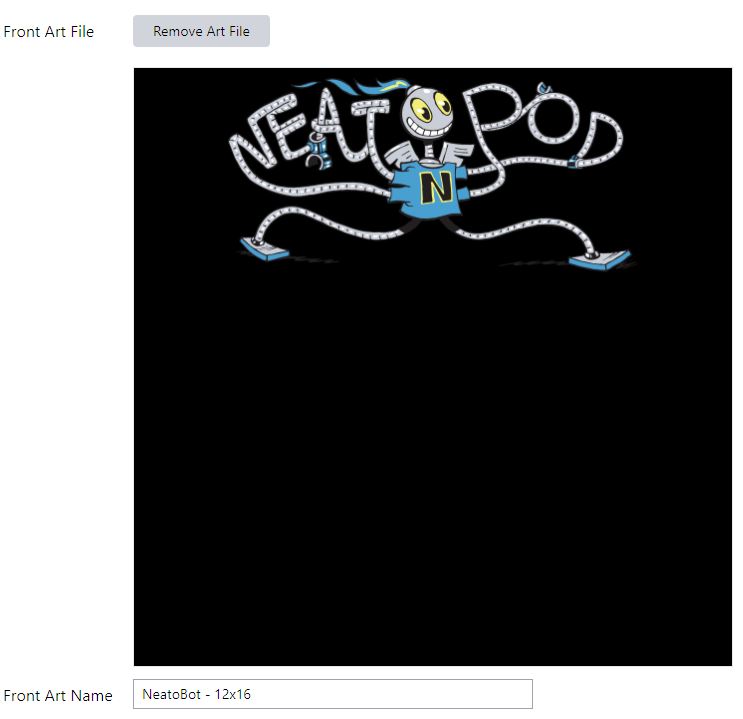
Let's give that Front Art File a name. In this example, I named it "NeatoBot - 12x16". I usually add the size of the art file to the name. In this case, 12x16 is the size of the template for DTG.
Note: The black background is shown because we have selected black as the default color of the shirt.

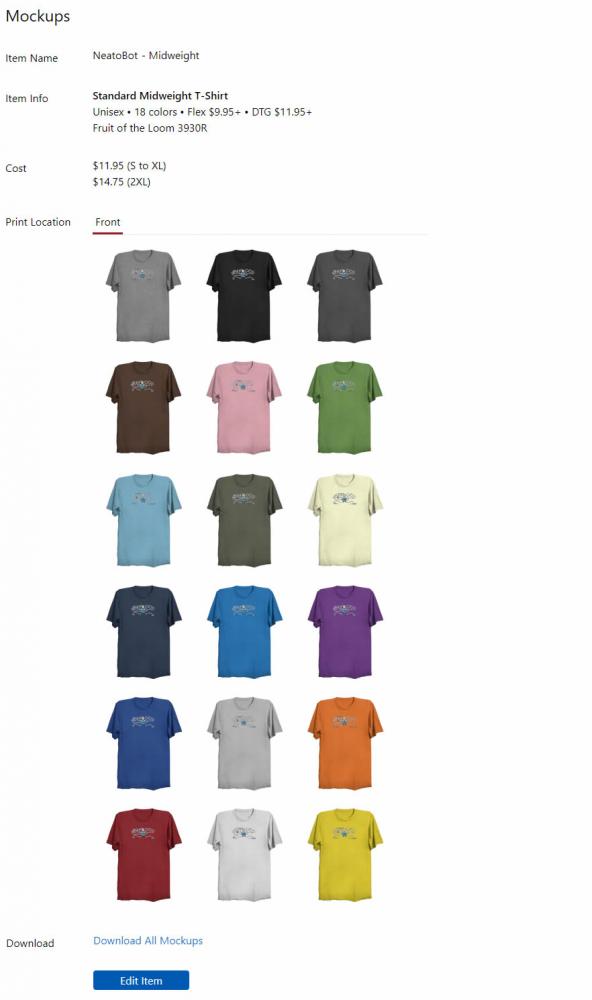
The cost of the item is listed.
Click the "Save Item" button to complete the steps.
That's it!
You've successfully created your first item.
Click the "Download All Mockups" if you'd like to use the generated mockup for your store's listing.
If you found this confusing, please email us the artwork file and let us know which garment item you'd like to use and we can help create the item for you.
To place your first order, let's proceed to the step-by-step guide to "Placing Your First Order".