

Creating Vector Art for 3D Puff with Illustrator
3D Puff print requires vector art, which is different from bitmap art that is used for DTG and Flex Digital Print. This post explains how to create simple vector art using Adobe Illustrator.
You can also create vector art using Canva, as explained here: Creating Vector Art for 3D Puff with Canva
Here's how to create vector-based artwork using Adobe Illustrator:

1- Create a new document in Adobe Illustrator
Click "File" then select "New". In the pop up window, create a document that is 11 inches wide by 11 inches tall. This is the maximum print size for 3D Puff.

2- Create your design
Let's create a simple text. Select the Text Tool (the "T" icon) and click on the artboard.
It's best to select a thick and rounded font as that is the most suitable for 3D Puff. Please keep in mind that 3D Puff cannot print fine details and sharp corners.
3- Expand the text object
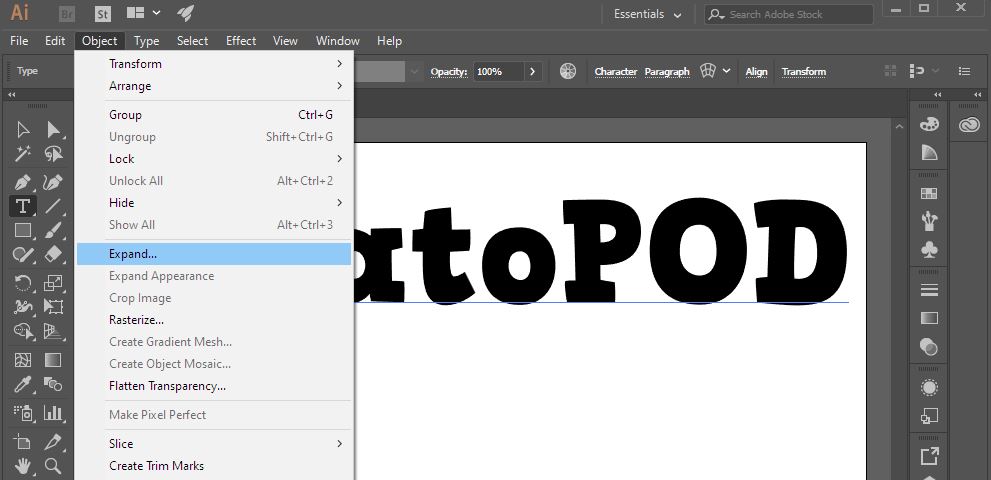
After you're satisfied with the text, convert that text object into vector shapes. After this step, the text is no longer editable (you can't fix typos, etc).
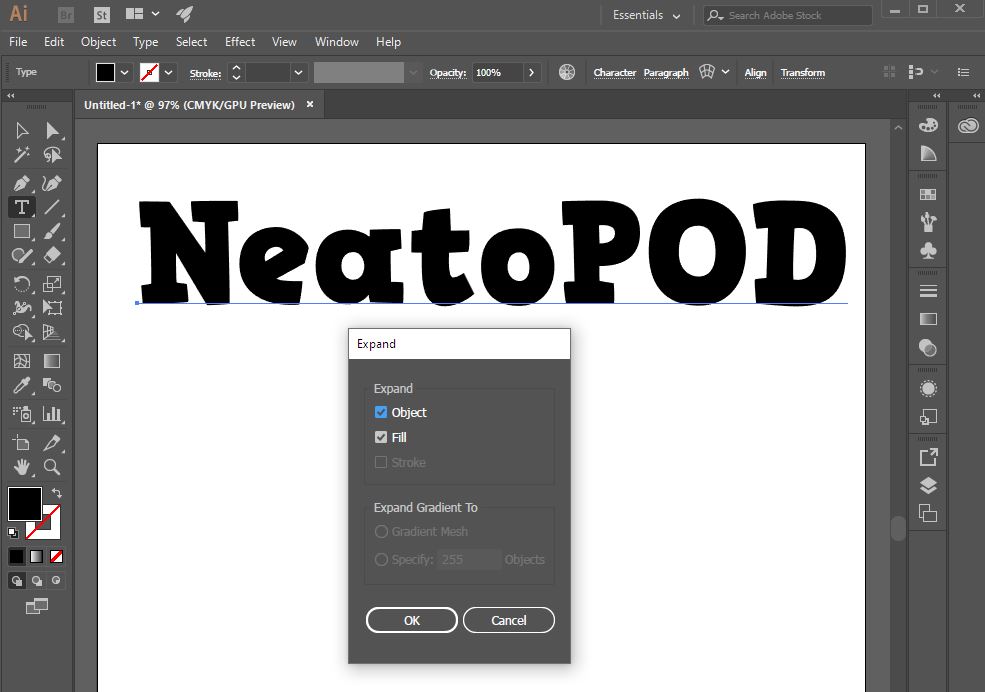
Click the "Object" dropdown menu, then select the "Expand" command. Check the "object" and "fill" checkboxes and click OK.

4- The text object is expanded
As you can see, the text object is expanded into its vector shapes.

5- Save as .svg file
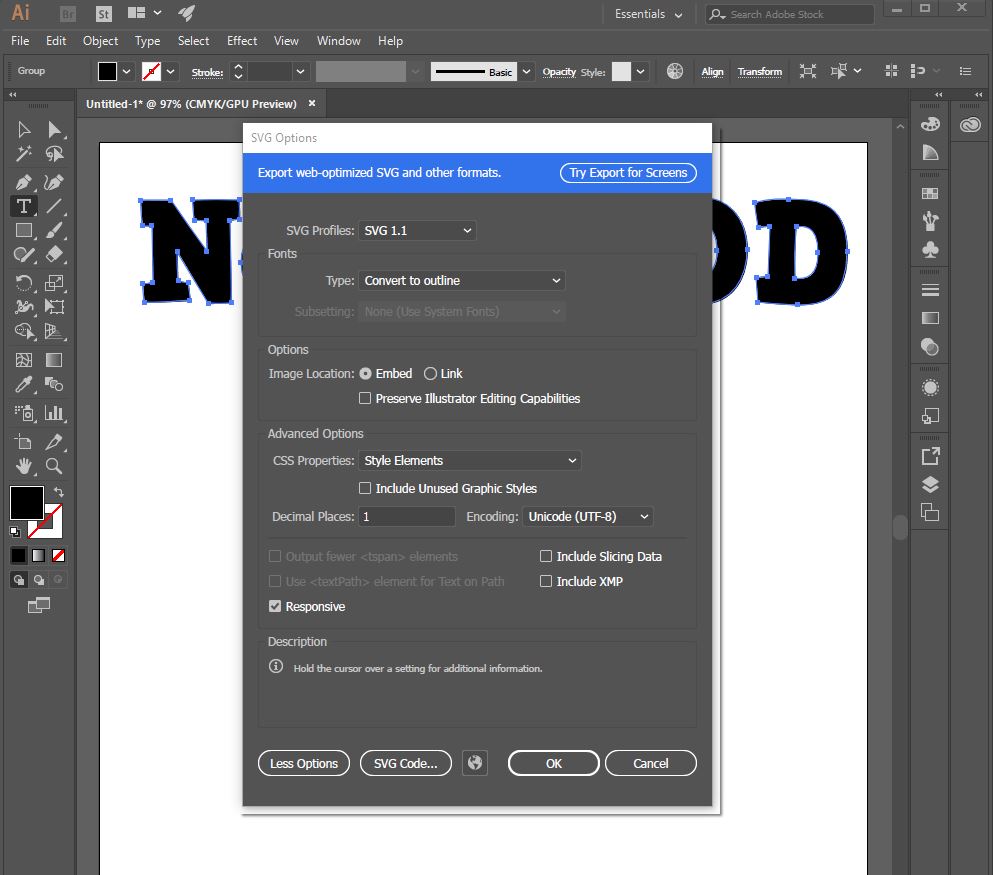
Click "File" then "Save as". For "Save as type" select SVG. If prompted, Save it as SVG 1.1 then click OK.
The .svg file is ready for upload!