

Add a NeatoPOD Item to Shopify
Note: NeatoPOD Shopify app is in beta - Please help us improve the app by emailing us bug reports.
To add a new item to Shopify, it's easiest to create that item first on NeatoPOD and then copy it to Shopify.
Please note that if you already have the item listed on Shopify, then you should follow a different method to link that item to an item on NeatoPOD.
See also: Item Creations (on NeatoPOD)
Here are the step-by-step instructions on how to add an item from NeatoPOD to your Shopify store:
1- Copy to Shopify
In your NeatoPOD dashboard, click "My Items". Select the item that you'd like to add to your Shopify store, and then click the "Copy to Shopify" button.
Note: It may take a while to create the items on your Shopify, especially if you have enabled a lot of color variants. Please do not close the browser tab or window until the process is done.

A note will pop up to tell you that the item has been created on your Shopify.

2- View the Item on Shopify
Log into your Shopify dashboard to finish adding the newly created item.
You should see the item in the "Products" section of your Shopify dashboard. Note that the item status is "Draft".

3- Edit the item on Shopify
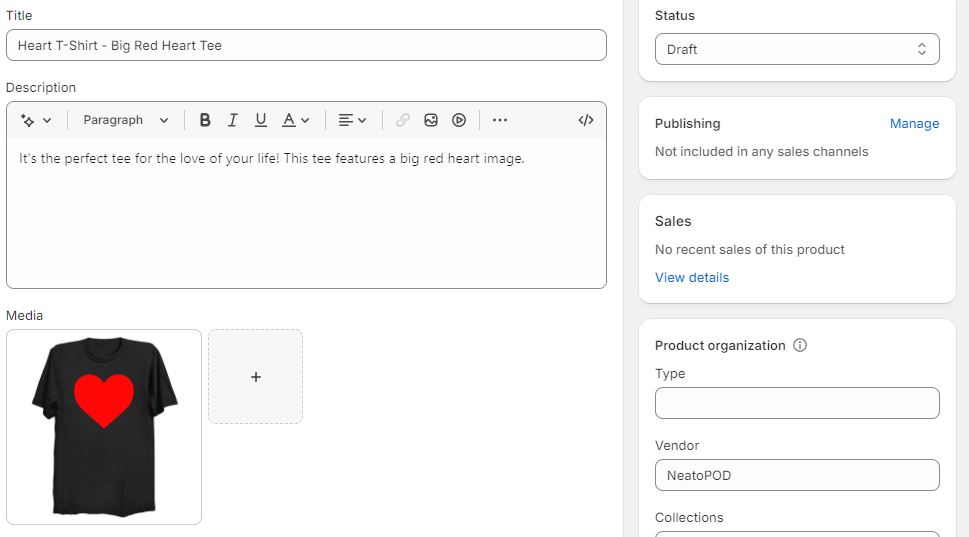
Edit the product by clicking its name.
Add the description, additional images (if you have them) - we recommend that you use Placeit dot net to create mock-ups for your items.
You can also change the title of the item. Your Shopify item's title does not need to match the NeatoPOD item name. For example, you can use a long descriptive item title on Shopify (for SEO purposes) and keep the NeatoPOD item name short. In this case, the NeatoPOD item name is "Heart T-Shirt" while the Shopify item name is "Heart T-Shirt - Big Red Heart Tee".
No need to worry about tracking inventory, because all items are printed-on-demand.
4- Add the retail selling price
Scroll down to the Variants section, and add the retail or selling price for each size:

5- Publish your item
Under the "Publishing" section, click "Manage"

6- Add to Online Store
Check the checkbox next to Online Store, then click the "Include" button. Then click the "Done" button at the lower right-hand corner.

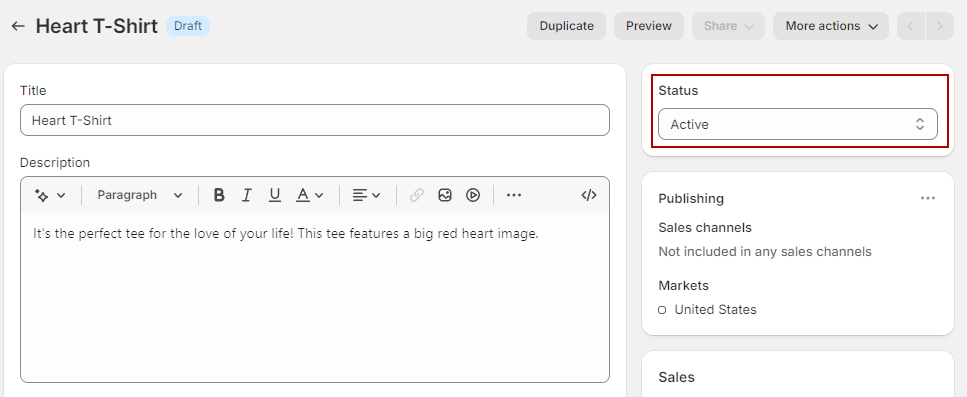
7- Set the status to "Active"
Scroll up and set the status of the item to "Active":
8- Click Save
Don't forget to save the changes by scrolling all the way down and clicking the "Save" button on the lower right-hand corner (or click the "Save" button at the top bar):

Congratulations! Your item is now live and ready to order on your Shopify store.